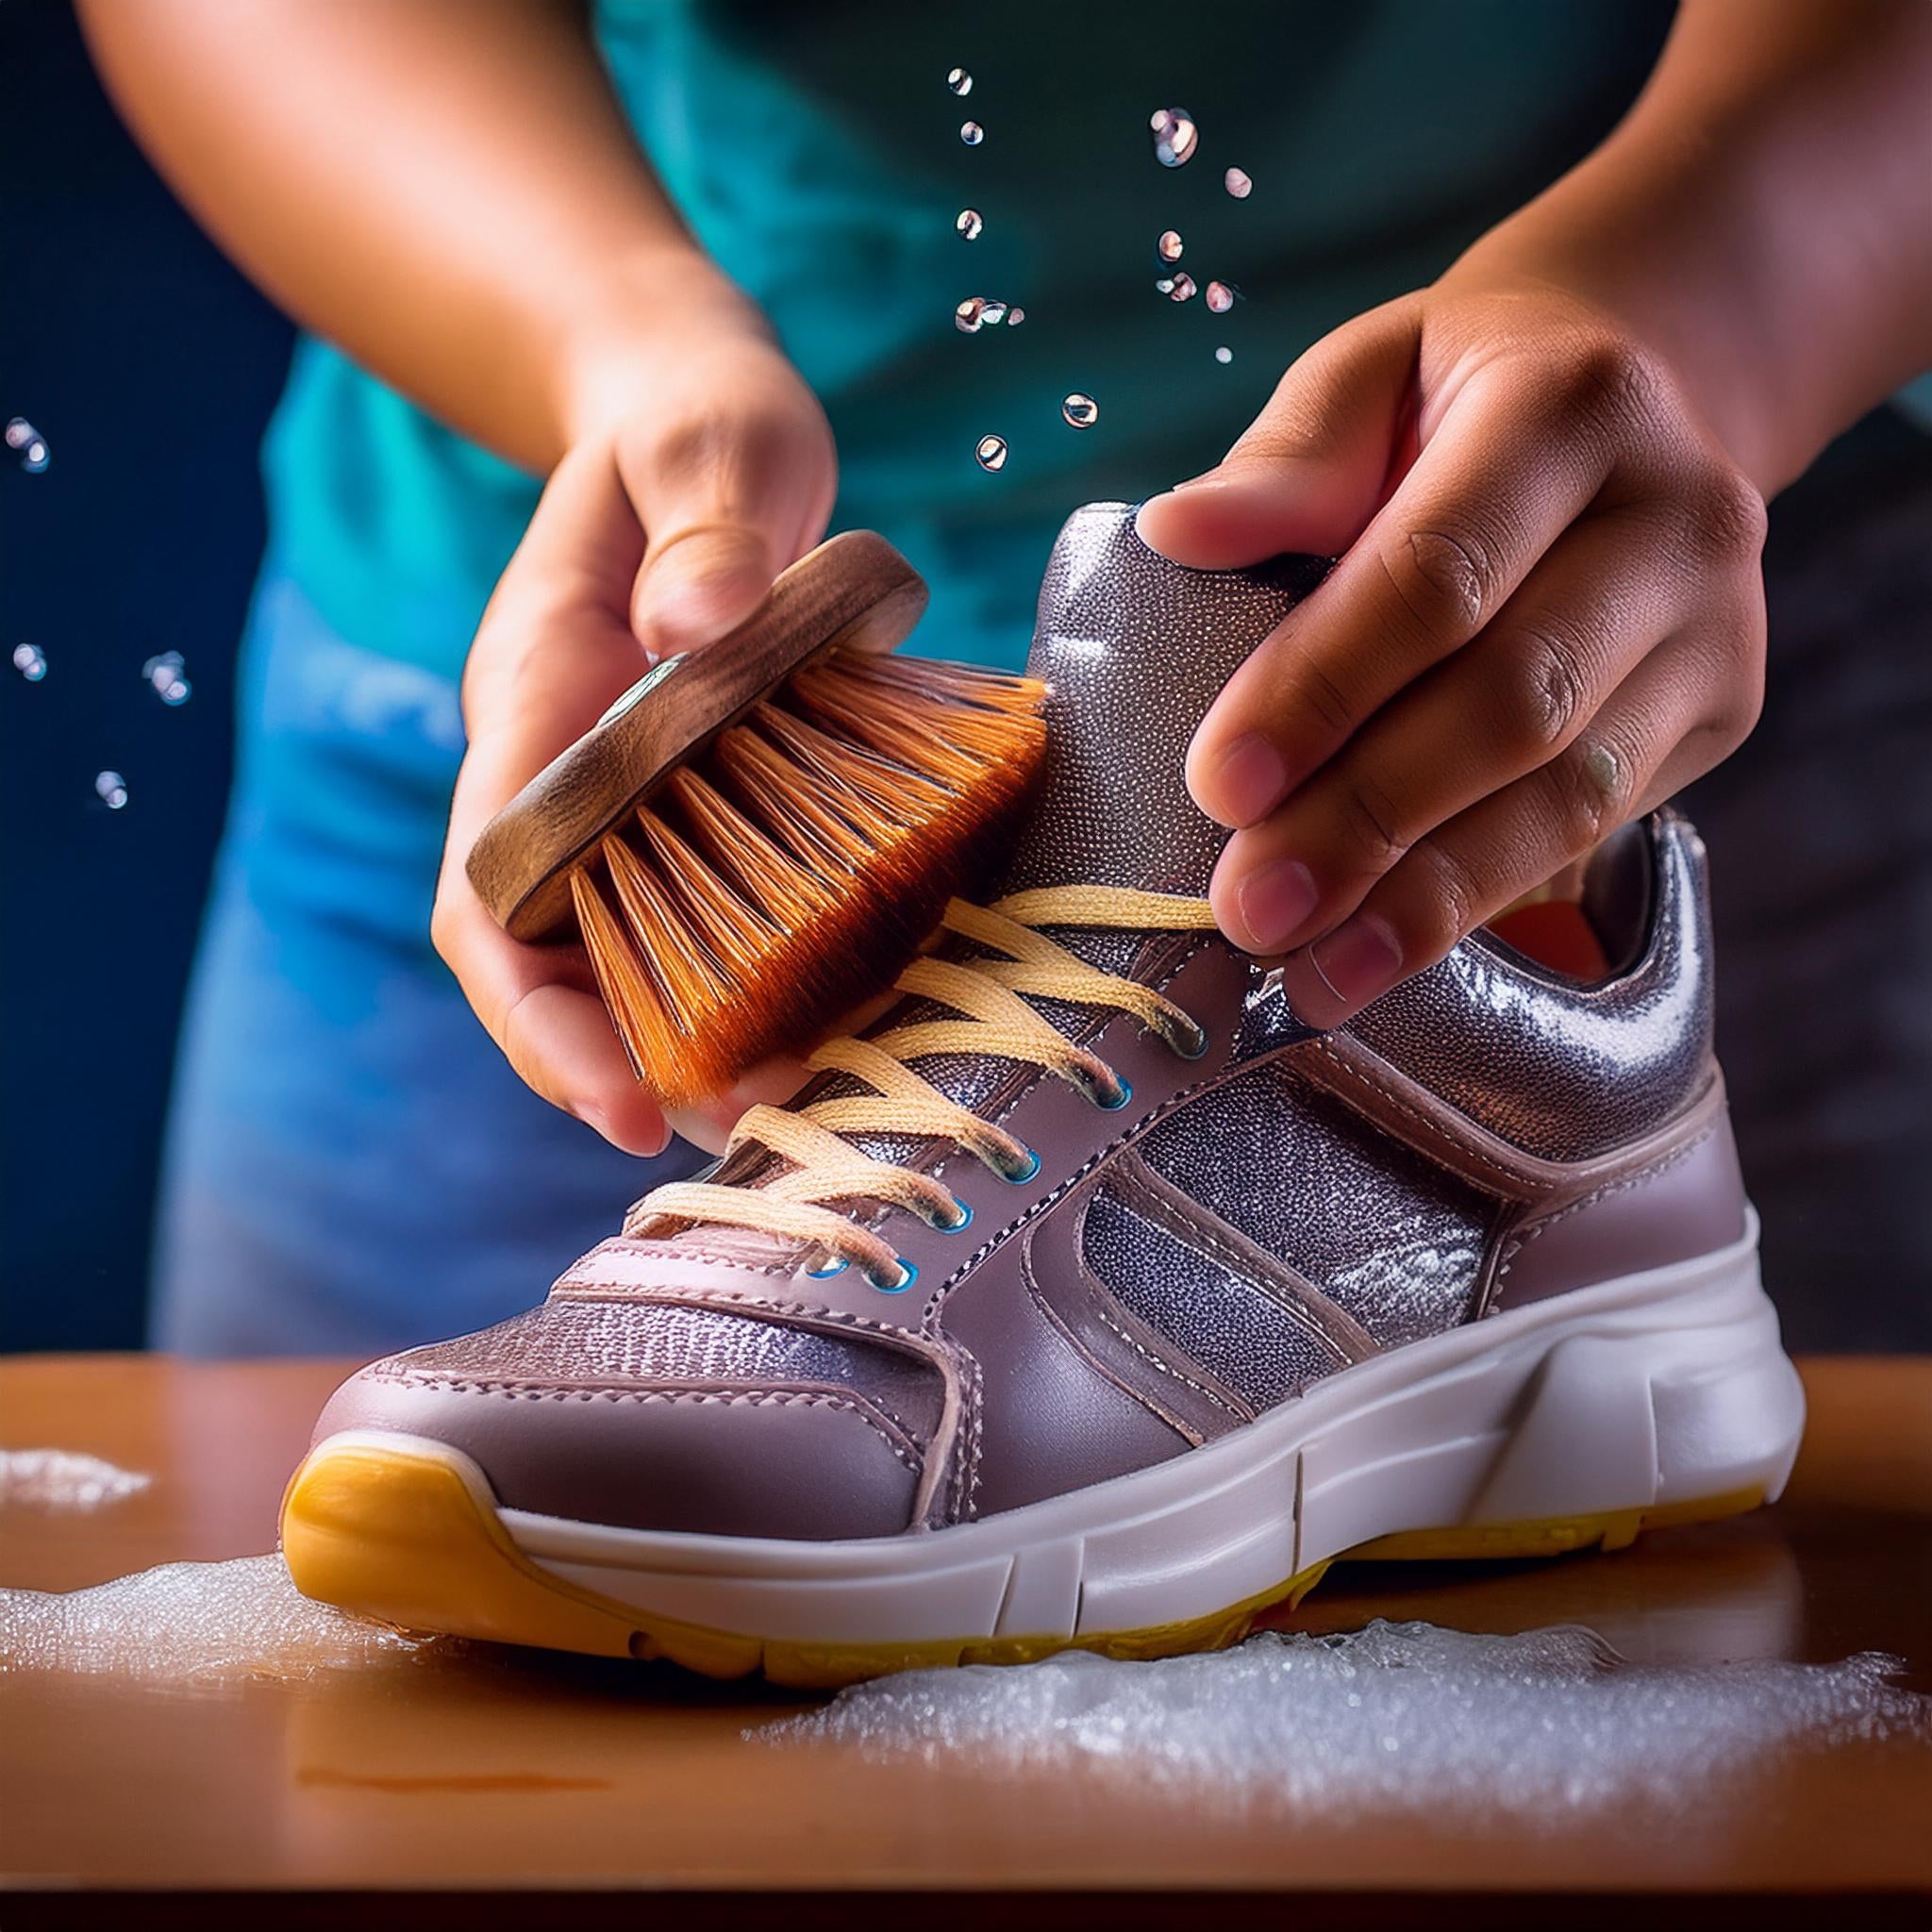
Welcome to the ultimate sneaker cleaning guide! Whether you’re a sneakerhead or just someone who wants to keep their favorite pair looking pristine, this post is for you. Sneakers are more than just footwear—they’re a fashion statement and a part of your lifestyle. So, keeping them clean and fresh is essential. Let’s dive into how you can maintain your sneakers and extend their lifespan with a few easy steps.
Why Cleaning Your Sneakers Matters
Before we get into the nitty-gritty of sneaker cleaning, let’s talk about why it’s important:
- Appearance: Clean sneakers always look better. Dirt, stains, and scuffs can make even the most stylish sneakers look worn out and neglected.
- Longevity: Regular cleaning helps maintain the materials and prevent premature wear and tear. This means your sneakers will look new for longer.
- Comfort: Clean sneakers can also contribute to a more comfortable experience. Dirt and grime can affect the fit and feel of your shoes.
Essential Sneaker Cleaning Supplies
Before you start, gather these essential supplies:
- Soft brush: A toothbrush or a specialized sneaker brush works well for removing dirt and grime.
- Mild sneaker cleaner: Opt for a gentle sneaker-specific cleaner to avoid damaging the material.
- Microfiber cloth: For wiping down surfaces and absorbing excess moisture.
- Magic eraser: Great for tackling stubborn stains on rubber and sole.
- Warm water: Helps in diluting cleaning solutions and loosening dirt.
- Sneaker protector spray: Optional, but great for keeping your sneakers cleaner for longer.
Step-by-Step Sneaker Cleaning Process
1. Remove Laces and Insoles
Start by taking out the laces and insoles. This makes it easier to clean every part of the sneaker. Wash the laces separately by soaking them in soapy water, then scrubbing gently with a brush. Insoles can be cleaned with a mild detergent solution and left to air dry.
2. Dry Brush the Surface
Use a soft brush to remove loose dirt and debris from the surface of your sneakers. Be gentle to avoid damaging the material. For tough grime, a bit of patience will go a long way.
3. Prepare the Cleaning Solution
Mix a small amount of mild cleaner with warm water. Dip your brush or cloth into the solution and gently scrub the surface of your sneakers. For leather sneakers, be especially careful and use a damp cloth instead of soaking them. For fabric or mesh sneakers, you can use a more liberal amount of water.
4. Clean the Soles
The soles often get the dirtiest, so pay extra attention here. Use a brush or magic eraser to scrub away stains and dirt from the rubber parts. For tougher stains, a bit of baking soda mixed with water can work wonders.
5. Wipe Down
After scrubbing, use a clean, damp microfiber cloth to wipe away the soapy residue. Make sure no soap is left behind, as it can attract more dirt.
6. Dry Properly
Allow your sneakers to air dry in a well-ventilated area, away from direct sunlight and heat sources. Stuffing them with newspaper or shoe trees can help them retain their shape and absorb excess moisture.
7. Final Touches
Once dry, reinsert the insoles and laces. If you want extra protection, spray your sneakers with a sneaker protector to help repel dirt and stains in the future.
Pro Tips for Keeping Your Sneakers Looking Fresh
- Spot Clean Regularly: Don’t wait until your sneakers are completely dirty. Spot cleaning can prevent stains from setting in.
- Avoid the Washing Machine: While tempting, the washing machine can be harsh on sneakers. Stick to hand cleaning for the best results.
- Store Properly: Keep your sneakers in a cool, dry place. Avoid storing them in damp or hot environments which can degrade the material.
By following these steps, you’ll keep your sneakers looking fresh and fabulous, ready to turn heads wherever you go. Remember, a little maintenance goes a long way in preserving your sneakers’ style and comfort. Happy cleaning!


Leave a comment
This site is protected by hCaptcha and the hCaptcha Privacy Policy and Terms of Service apply.